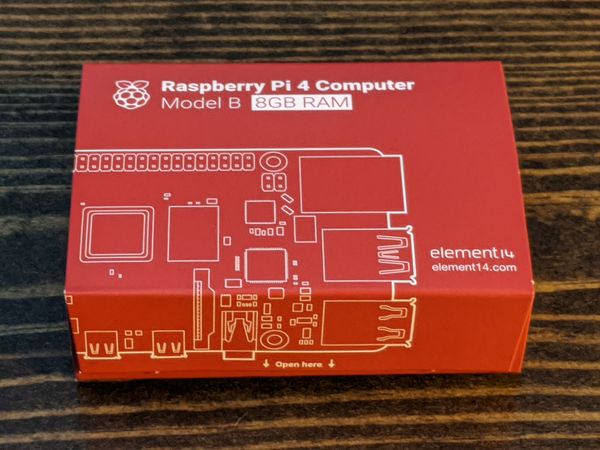
The Raspberry Pi 4 Model B with 8GB of RAM is the latest tiny, dual-display, desktop computer from element14 that literally fits in the palm of your hand! I love the Raspberry Pi because it's such a versatile little pice of hardware that packs a serious punch.
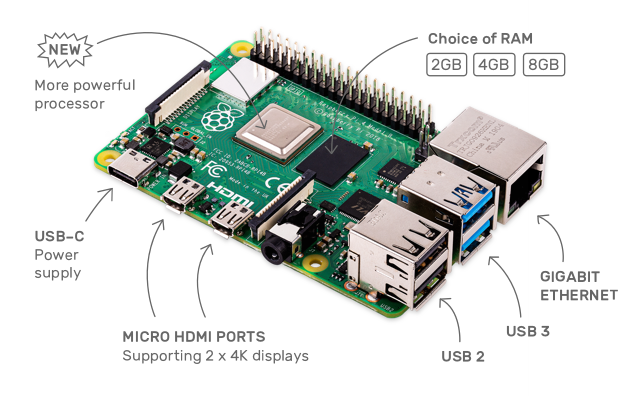
Speaking of specs checkout the pic below!

For this blog series I'll be referring to the Raspberry Pi 4 Model B with 8GB of RAM. A few things worth mentioning about this model are the two micro HDMI ports for 2x4K displays, 2 USB 3 ports, and a more powerful processor! See told yea this baby packs a wallop!
So are you a gamer? Love playing retro games? Maybe a child of the '80s? Have you ever wanted your very own ultimate retro gaming rig? Well guess what? You came to the right place cause I'm about to show YOU how to make that happen!
Okie dokie Smokie, then first thing's first, you need an SDCARD flashed with the retropi image; let me walk you through that. No worries mate it's easy really.
REQUIRED HARDWARE


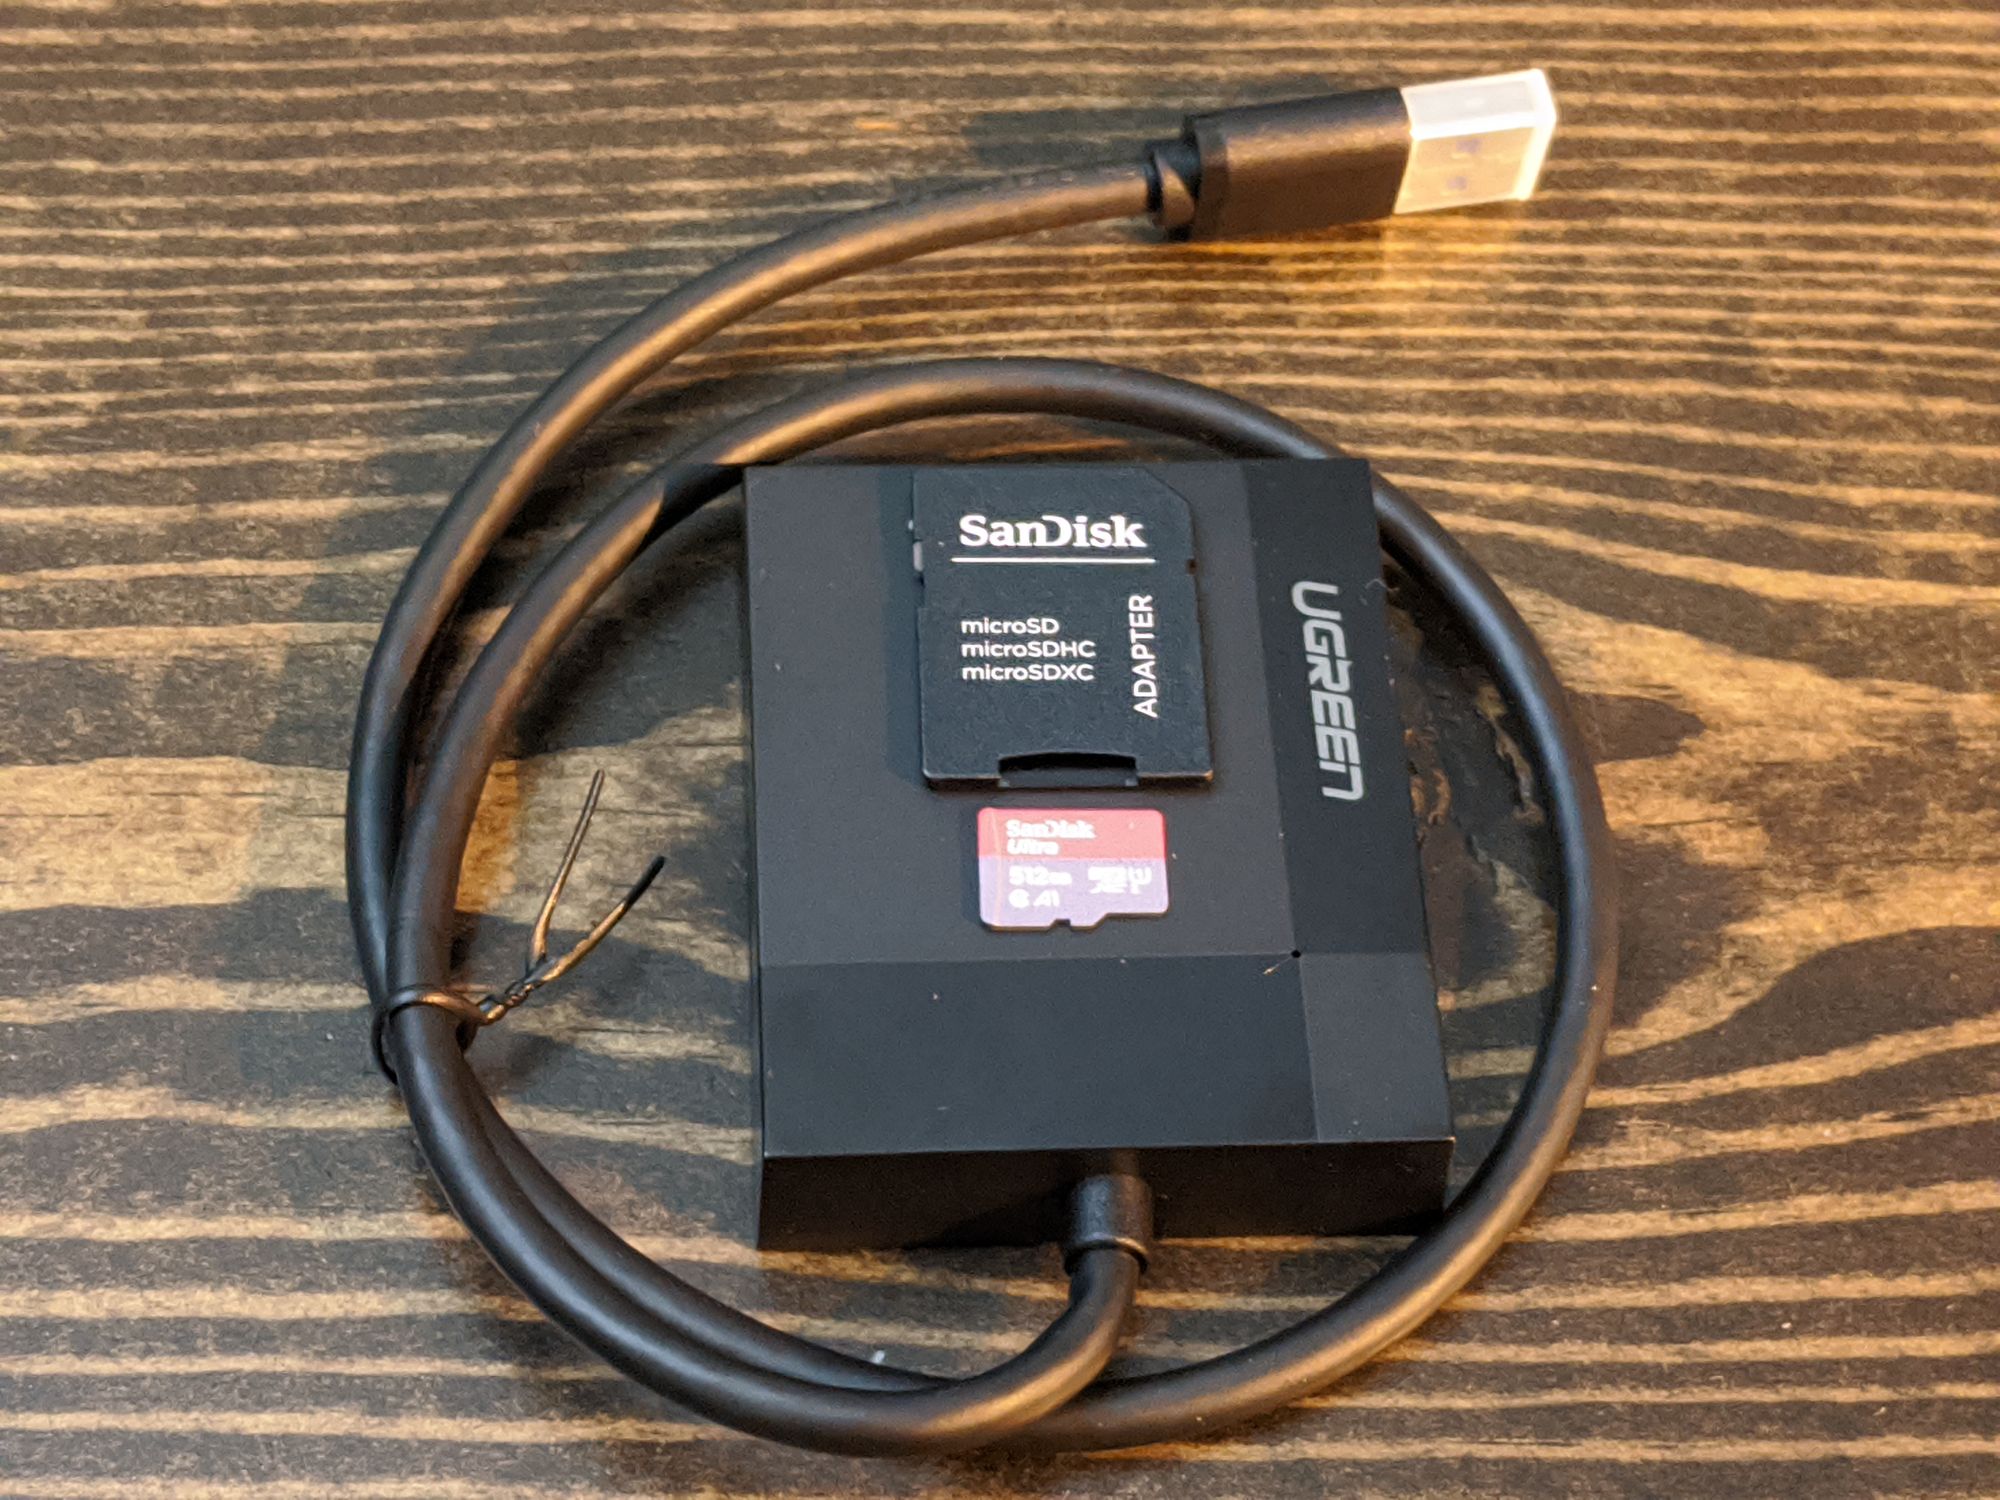
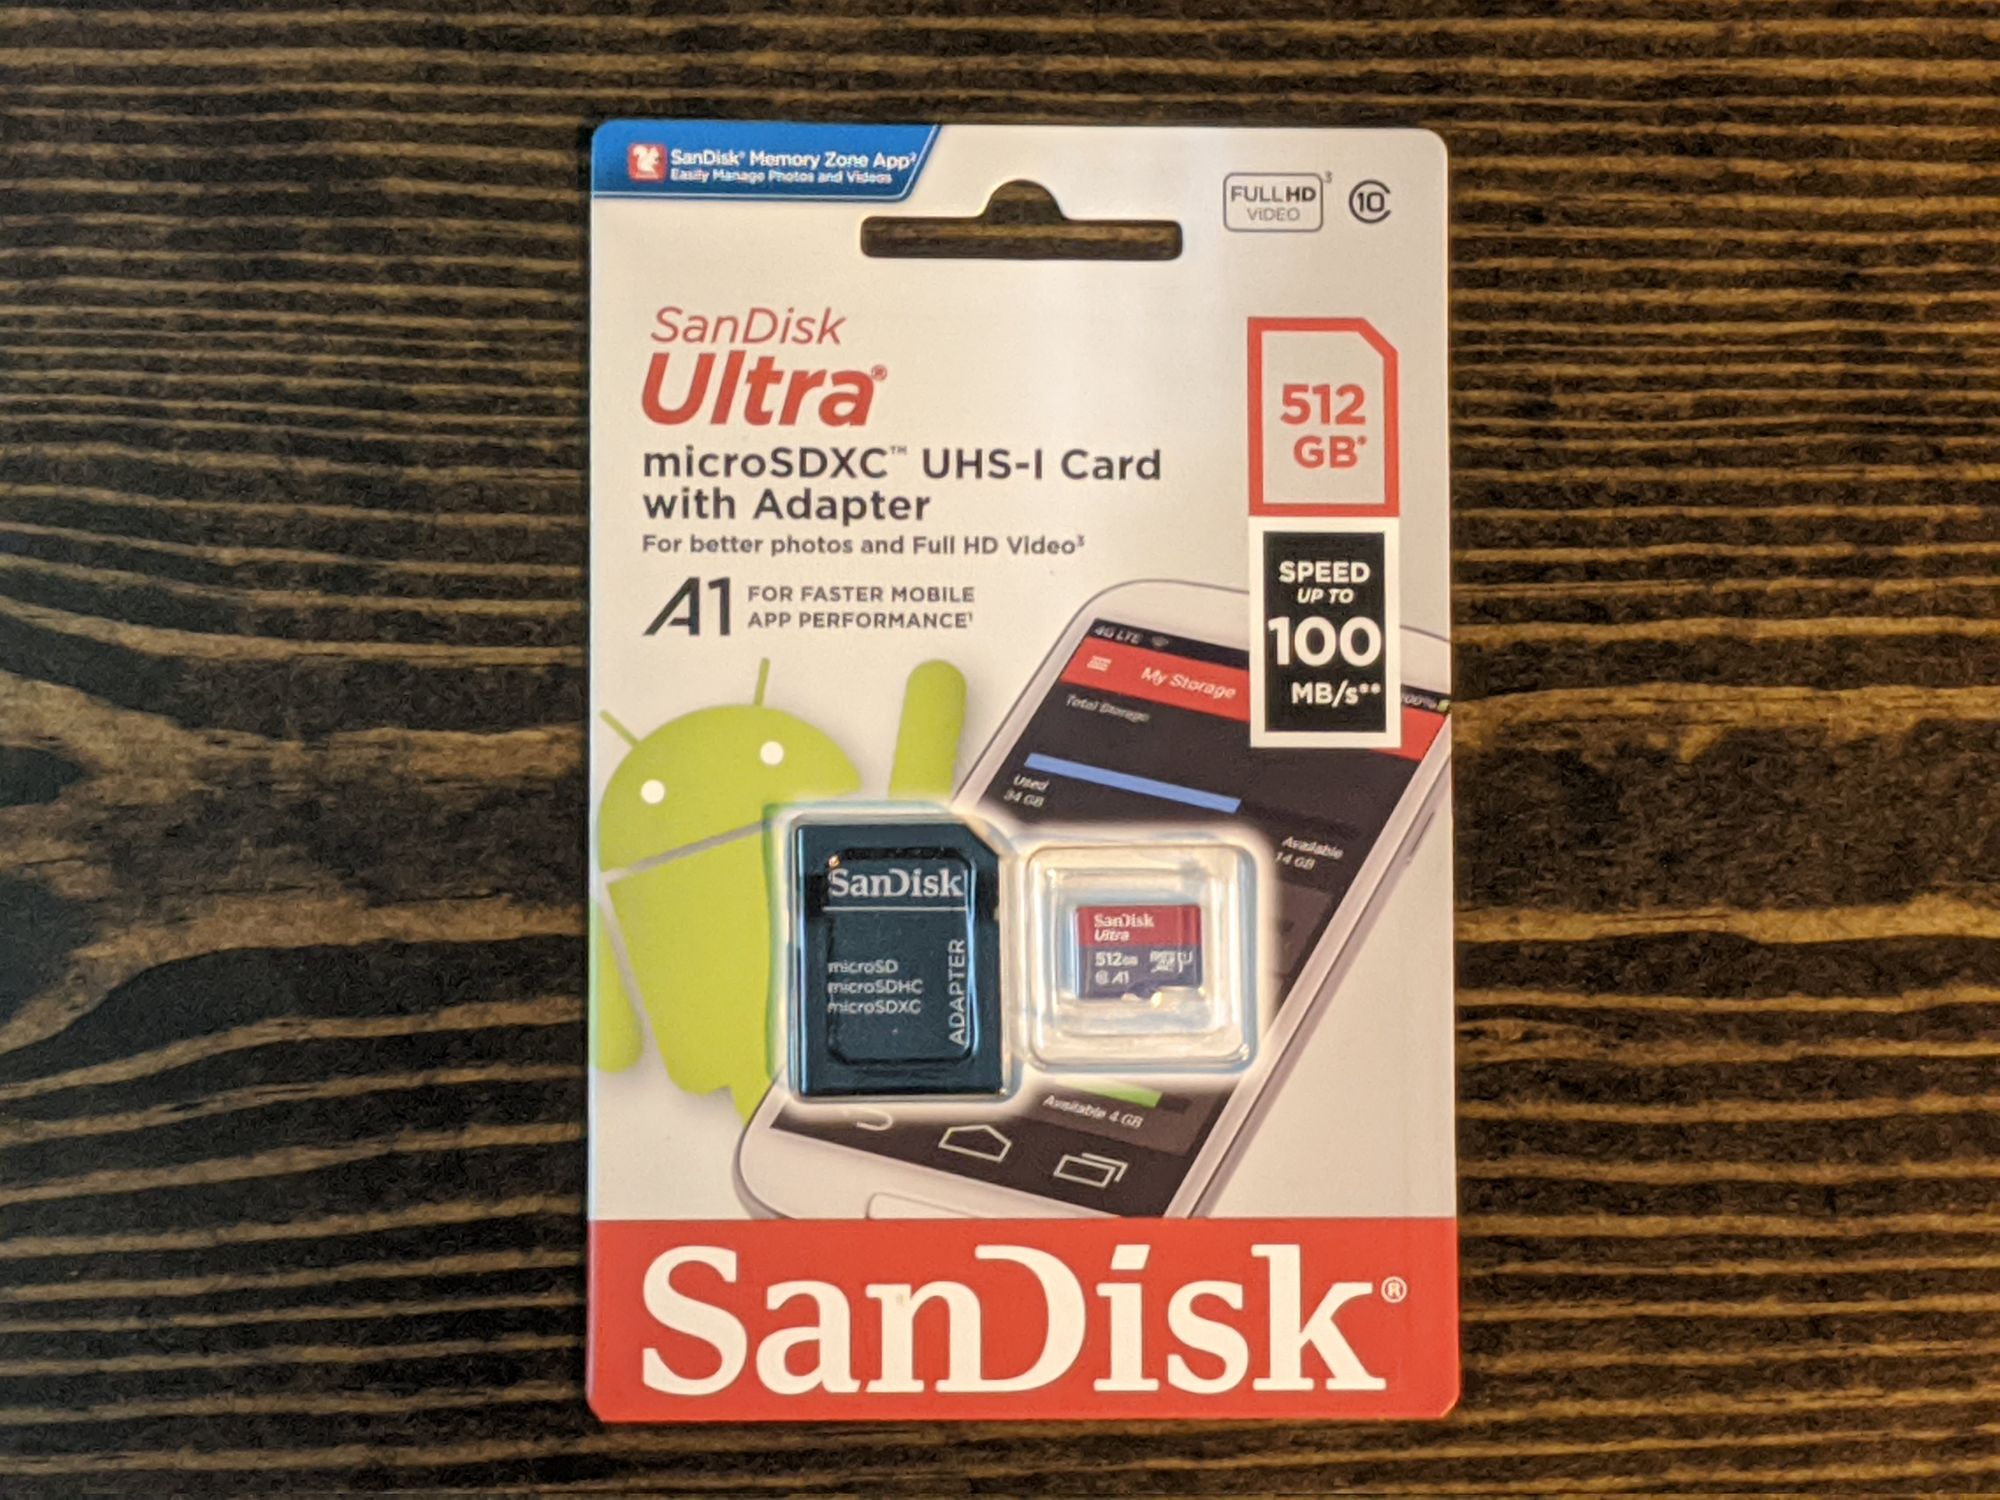
Above you can see we have a USB card reader and a 512GB SDCARD. Ok Ok let's get YOUR SDCARD flashed.
Awright from this point forward, unless otherwise stated, all commands were executed on Arch Linux. These commands should translate fairly well to other Linux distros. However, some of them won't work as is on OSX due to the difference in device file naming.
- Plug your SDCARD reader into your laptop/PC.
- On Arch Linux we can tail the Syslog file ( e.g. this assumes you have syslog-ng installed ).
root@alderaan yoda]# tail -f /var/log/messages.log
---snippet---
Aug 10 19:58:03 localhost kernel:  sdh: sdh1
Aug 10 19:58:03 localhost kernel: sd 7:0:0:2: [sdh] Attached SCSI removable
From the above log you can now identify the correct device you need to format from this line.
Aug 10 19:58:03 localhost kernel: sd 7:0:0:2: [sdh] Attached SCSI removable disk
This translate as the device file /dev/sdh. Now let's confirm you have the right device.
[root@alderaan yoda]# fdisk -l /dev/sdh
Disk /dev/sdh: 476.71 GiB, 511868665856 bytes, 999743488 sectors</code>
I know my SDCARD is 512GB and 512GB minus formatting is probably 476.71GB.
It's also not the worst idea to confirm this device isn't currently mounted. ( e.g. that would allude to the probability that's it's NOT the device you want to format and erase!).
[root@alderaan yoda]# df -h |grep sdh</code>
If the above command returns any results then you could have the wrong device! Please double check you are about to format the right device!
Next step is to download the actual RetroPi image. You can do that with the command below.
[yoda@alderaan Downloads]$ wget -c https://github.com/RetroPie/RetroPie-Setup/releases/download/4.6/retropie-buster-4.6-rpi4.img.gz
Note: If 4.6 isn't the latest version, by all means, get the latest!
Now unzip your downloaded image like so:
[yoda@alderaan Downloads]$ gunzip retropie-buster-4.6-rpi4.img.gz
[yoda@alderaan Downloads]$ ls -alh retropie-buster-4.6-rpi4.img
-rw-r--r-- 1 yoda yoda 2.7G Apr 27 20:48 retropie-buster-4.6-rpi4.img
Next step: Use UNIX utility dd to write your download RetroPi image to your SDCARD. Note: You need to be super user root or use SUDO. WARNING! If you don't use the right device here you might format the wrong device and loose your data!
[yoda@alderaan Downloads]$ sudo dd bs=4M if=retropie-buster-4.6-rpi4.img of=/dev/sdh
684+1 records in
684+1 records out
2872049664 bytes (2.9 GB, 2.7 GiB) copied, 77.8776 s, 36.9 MB/s
Now typically you'd be done here. However, by defualt, when you burn a
RetroPi image to an SDCARD it will only create a partition the size of the image ( e.g. 2.7GB ). So you need to resize the partition just created to take up your entire SDCARD. For this we'll use the open source tool parted.
Note: You'll want to leave alone the boot partition and only extend the larger partition ( 2599MB ) which is formated with the EXT4 file system and identified as partition number 2 as showned below.
Enjoyed this post? Stayed tuned for part 2: Assembling your hardware and OS hardening. Coming soon!


